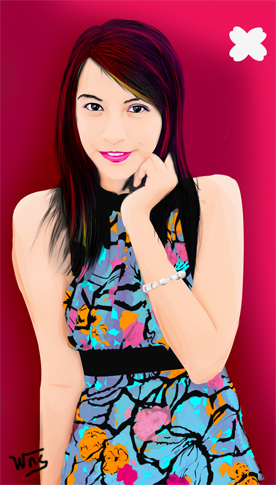

Creating a vector is not as hard as it looks, though you really need patience for you may be working for hours. For the reference you need a large image so you can zoom in and out and see the little details of the subject. In doing vector you don't need to copy everything you can also add your own creative ideas to your work. Follow this guide and learn this technique in no time.
Steps:
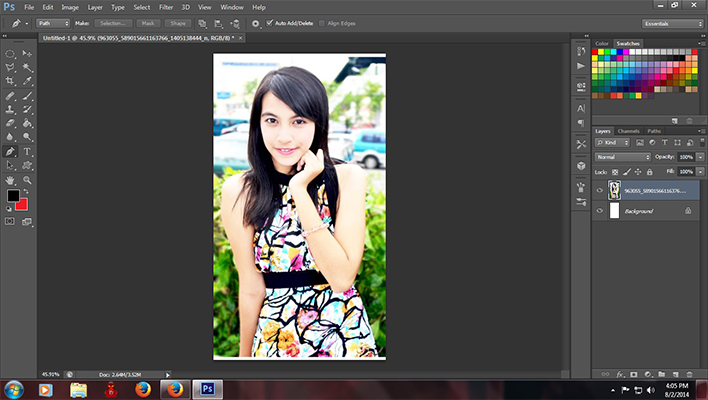
- Open the image in Photoshop.
2. Create a new layer.(Ctrl+N)
3. Create a new group. (ctrl+G) name it "skin".
Under it create a group named "face".
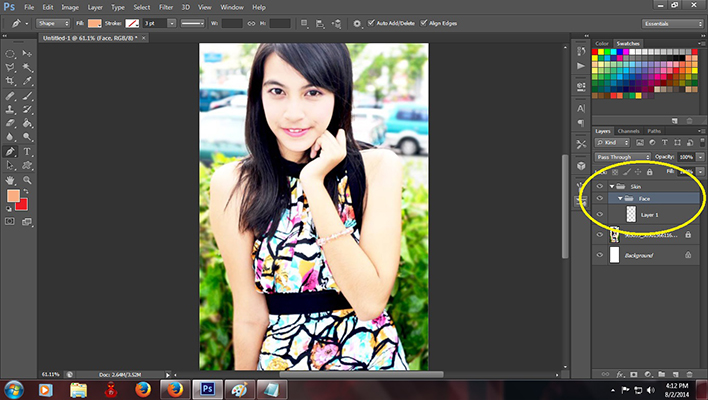
4. Click the Pen tool and set it to "shape". ( Upper Right)
5. Begin tracing the face.
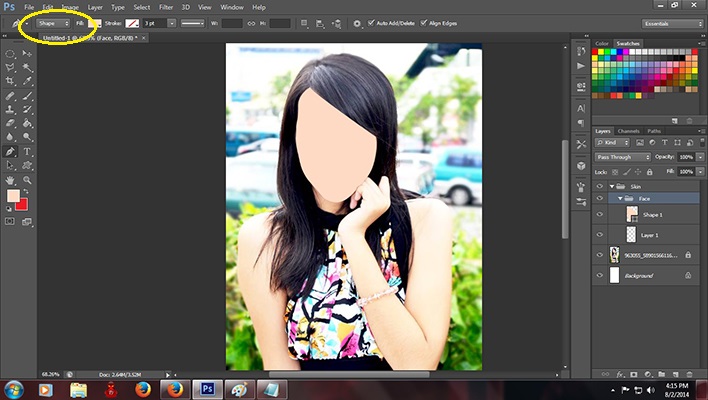
After tracing the face. We will do the eyes next.
lower the opacity of the face group to 0% ( at the layer panel right side)
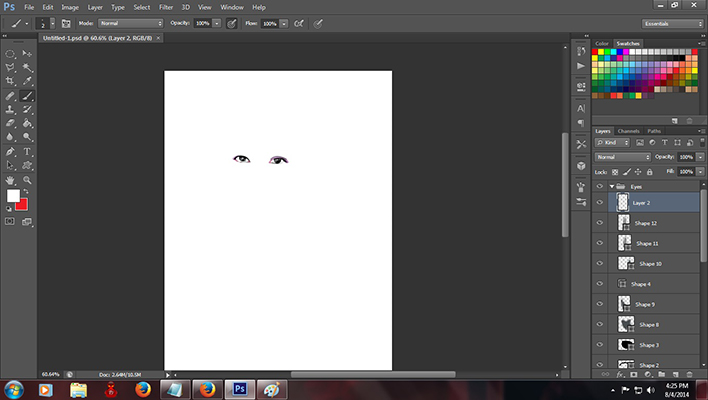
6. Create a new group and name it eyes. Begin shaping the eyes using the same tool.
Combine all the layers for the right eye (Ctrl+e) and name it "right".
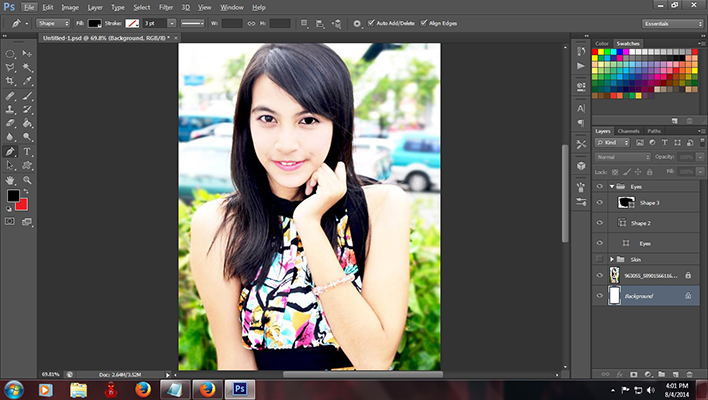
Let us work on the left eye. DONE!
7. Let us move on to the lips.
Create a new group and name it lips and do the same process.
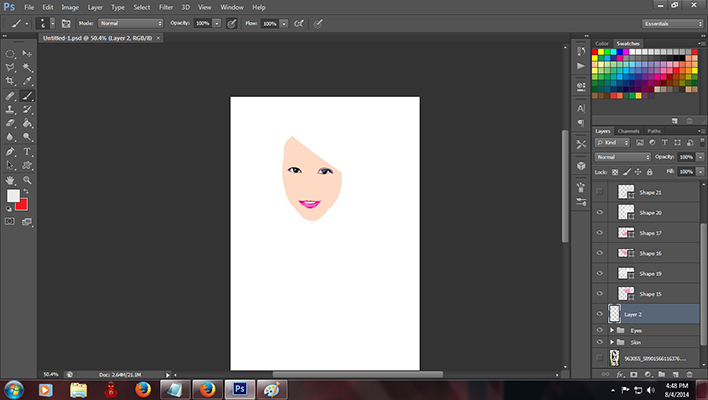
8. Go back to the "skin layer" and do some shading/ rendering .
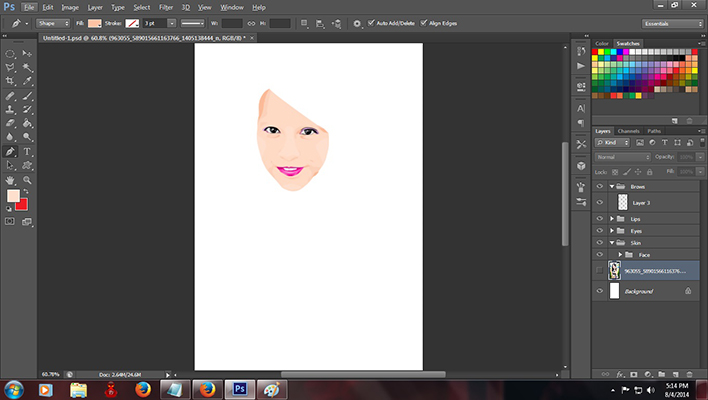
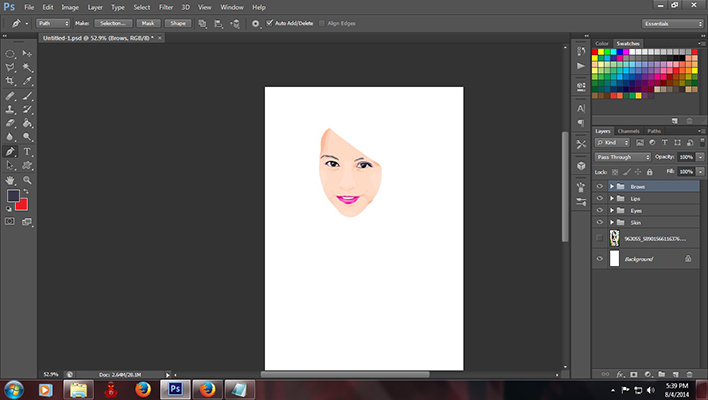
9.Create a new group layer for the brows.
For the brows instead of using the pen "shape" tool use the pen "path" tool you can change it on the upper left corner,press ctrl if you are done on a strand and "stroke" it after. (right click and choose "stroke", and apply "simulate pressure")
10. Create a new group for the hair and do the same use the "stroke path" method.
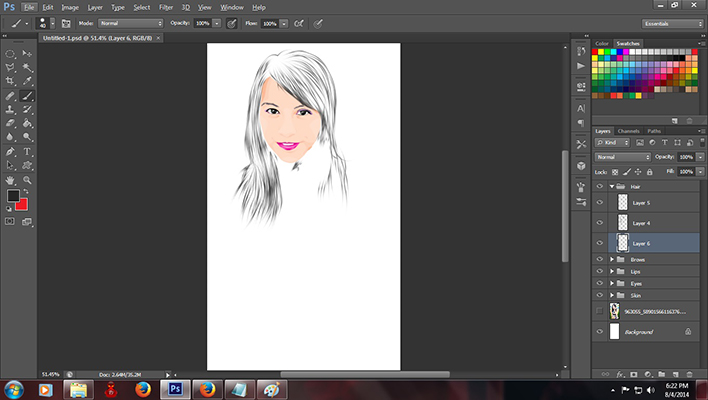
You can fill up the remaining spaces by brushing a layer behind the "stroked path hair".
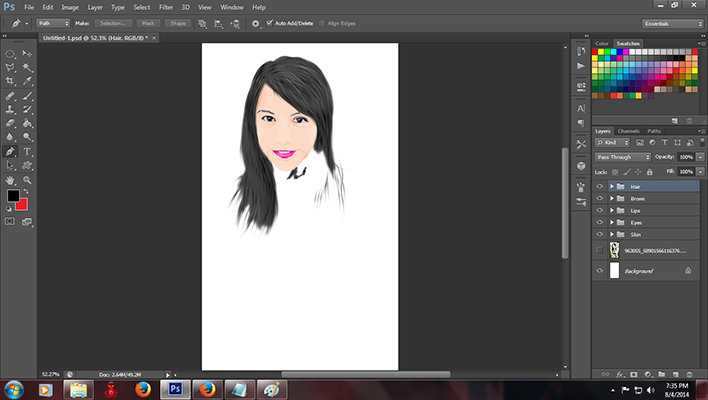
11. After the hair go back to the "skin" group and create a group layer for the neck. Also for the arms.
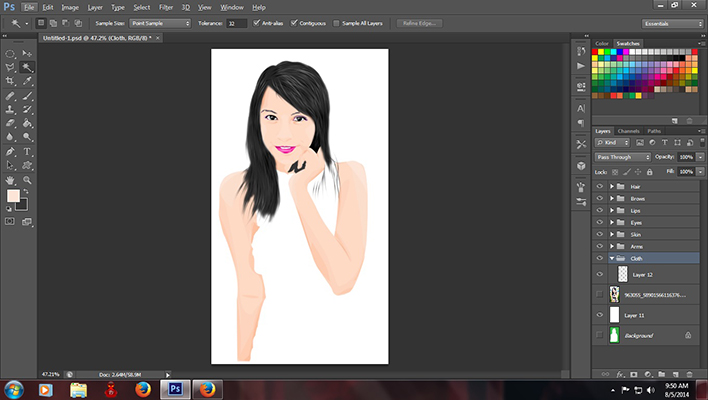
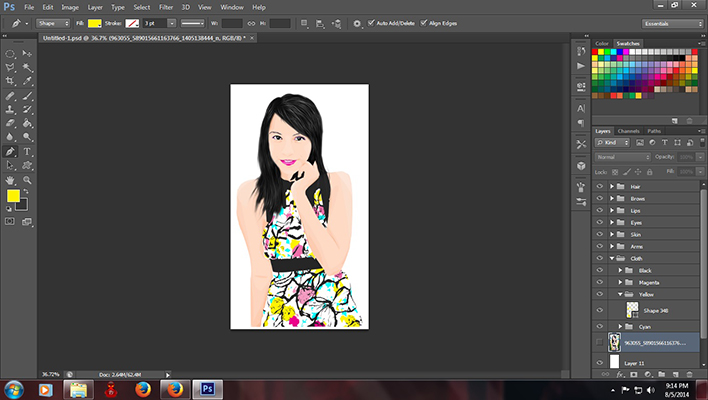
12. Create a new group for the cloth.
For the cloth start vectoring the dominant color.
In this image i would start with the dark/black color.
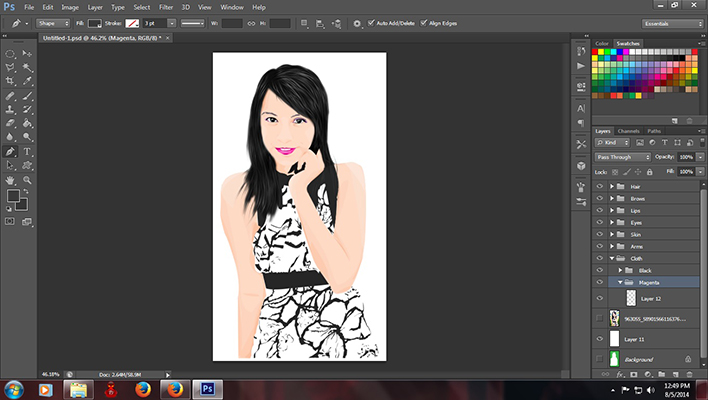
13. You can change some colors if you want to. You can also add your own creativity like adding some highlights to the hair and doing the background. ( For the background I just used the bucket tool and the brush) If you have any thing to add/change to suit your taste you can do so.
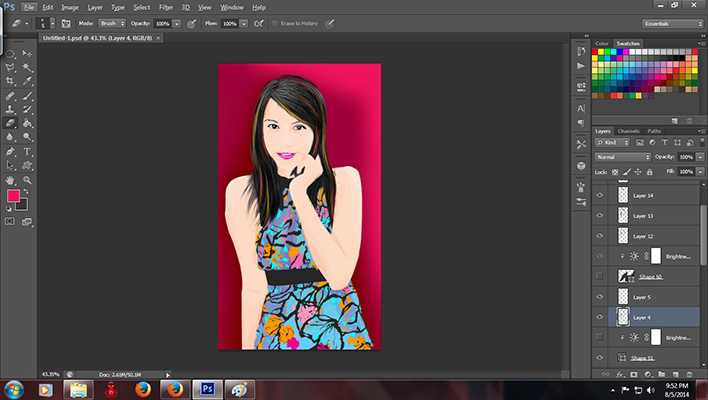
P.S. You can adjust the brightness/hue and other things of the layers by clicking on the black and white circle on the lower right.
DONE!